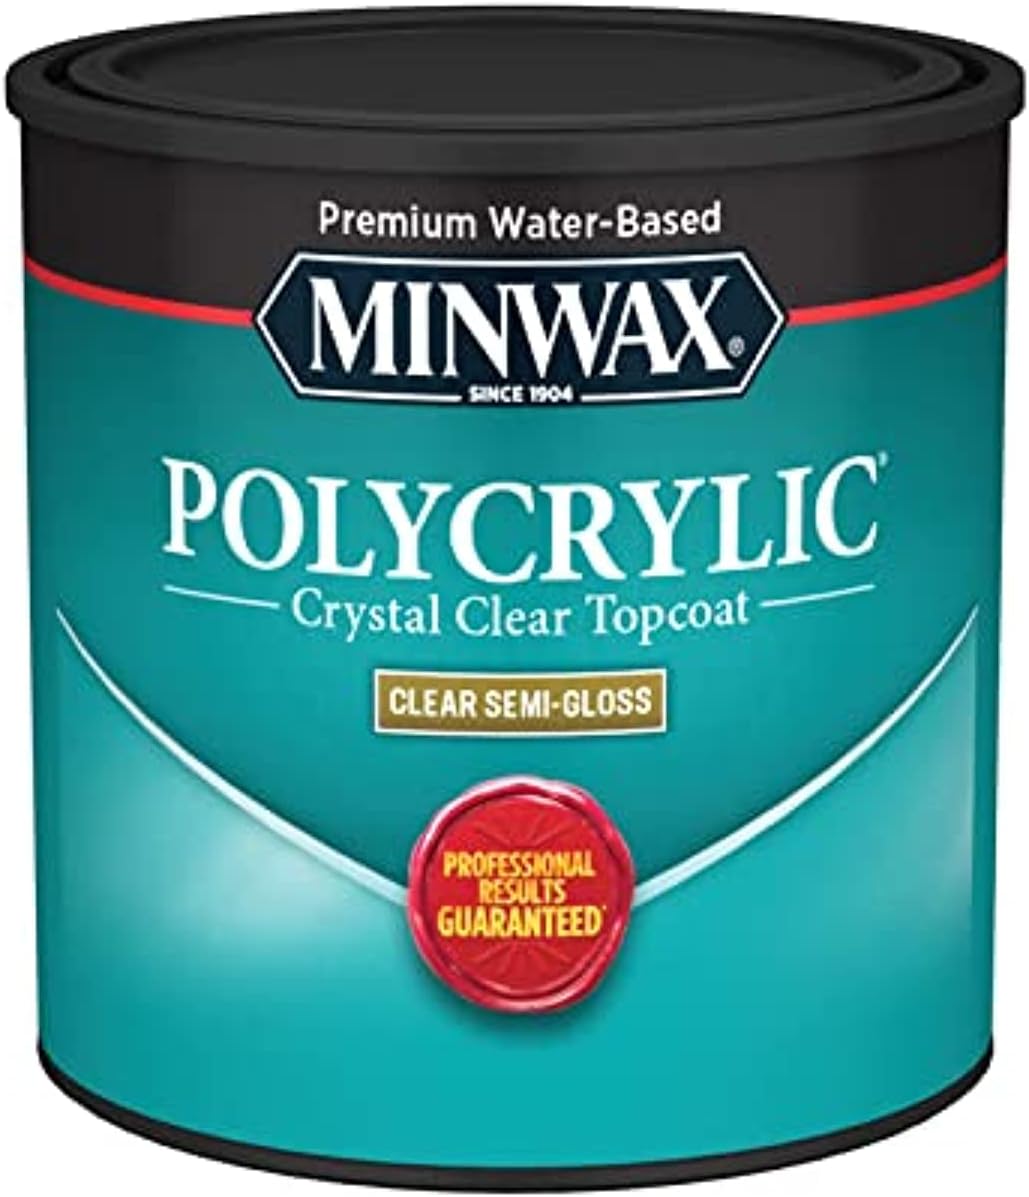
Minwax .50 Pint Semi Gloss Polycrylic Protective Finishes 24444
FREE Shipping
Minwax .50 Pint Semi Gloss Polycrylic Protective Finishes 24444
- Brand: Unbranded

Description
Low VOC- Polycrylic has a lower VOC content than many other finishes, making it a more environmentally friendly option. There's really no point in buying "satin" if you are going to wipe it on. If you thin gloss material and wipe it on, it's going to dry satin anyway. "Canned satin" will work, so go ahead and use it, but the problem with canned satin polys and varnishes is that they are made by adding fine "dust" to dull the gloss and you must regularly stir the stuff in the can to keep the "dust" in even suspension in the material. (Varnishes are always stirred, never shaken. Shaking ads minute bubbles to it which will ruin the finish.) Those who don't know this will often apply "satin" finishes right out of the material at top of a can in which the "satin dust" has settled and then can't figure out why their finish turned out glossy. Fast Drying Time – Polycrylic dries much faster than traditional oil-based finishes, allowing you to apply multiple coats in a single day.
Can polycrylic be used on all types of surfaces? Polycrylic is generally safe to use on a wide range of surfaces, including wood, painted surfaces, and even paper or fabric-based projects. However, it is important to test a small, inconspicuous area first to ensure it adheres properly and does not cause any damage. I know this is four years in the future from this post but I’m sure there will be others like myself using polycrylic for the first time and I wanted to share my story about yellowing. I’ve been working on a side table project and because of unforeseen events I was forced to paint it white instead of using a stain like I wanted too. With that said I did a ton of research into sealing and protecting the finish. Like many of us I came across polycrylic because it doesn’t turn yellow. However on the can it does say that it may turn yellow. I’ve read many articles and blog posts about polycrylic and many people have had great success without the yellowing.Once fully cured, polycrylic provides a hard, durable finish that can withstand regular use and cleaning without showing signs of wear or damage. This makes it an ideal choice for high-traffic areas or items that will be exposed to water or other liquids. Benefits of Using Polycrylic Take Tow and lay it out on some plastic sheet, taping the ends down so they do not move and the tow is as flat as possible. (you might roll it a bit). then spray 3M77 on the one side of the tow. Use a bit of 3m&& since you want the adhesive there. Then let it cure/dry. Taking the tow and a small monokote iron, position the tow with the adhesive side on the foam and iron on the tow. Trim as necessary. Then do your layup. I have don't this with pre-cured CF pieces and the 3M77 melts and adheres to the foam exceptionally well. Well enough to rip out the foam if you decide to try to remove the CF. Seems that Minwax is fully compatible with artist oils, and to be sure of my color (after 'force drying' the test piece with a blow dryer) a little clear varnish was applied over to get the sheen of the pre-finished flooring - and the color would be 'flat' without the top coat of varnish. It looked good, so I went ahead and treated all the bull-nose needed. One day later I applied the clear Varnish (Varathane clear - a different brand name, but also compatible with Minwax) and the next day was able to go ahead doing the landing into our sunken family room ... We can't tell that anything was matched, it looks that good. Polycrylic is applied in thin layers using a brush or sprayer. As each layer dries, it forms a protective barrier on top of the previous layer. Multiple layers can be applied to achieve the desired level of protection and sheen. Sand the final coat: Once the final coat has dried, lightly sand the surface with fine-grit sandpaper to remove any imperfections or brush marks. Wipe the surface with a clean, damp cloth to remove any dust.
The Validol, as well as others perhaps, lines the TE of the stab and rudder with 1/8" (or so) wide CF uni tow. The Tow provides better resistance to damage. CF matt basically absorbs a lot of resin and might not give you the desired strength. Apply subsequent coats: Apply additional coats of polycrylic in the same manner, allowing each coat to dry completely before applying the next. For best results, apply at least two coats. Prepare the surface: Before applying polycrylic, make sure the surface is clean, dry, and free of any dust, dirt, or debris. If necessary, sand the surface to remove any rough spots or imperfections. Polycrylic works by forming a protective layer on the surface it is applied to. This layer helps to protect the underlying material from scratches, stains, and other types of damage, while also enhancing the material’s natural color and texture. The Guild is a non-profit educational organization whose mission is to “Advance Ship Modeling Through Research”. We provide support to our members in their efforts to raise the quality of their model ships.Ahoy, Tony ! I used to like the 'Minwax of Old' for general woodworking, but it has been significantly re-formulated to comply with VOC reduction ... likely a good thing. Now, as then, it really takes 3 or 4 days to dry - and in the interim it gives off a distinctive odor - a litttle less each day. Its still good as a colorant, as I had to match some unfinished red oak stair 'bull-nose' to pre-finished 3/4" tongue and groove red oak flooring. I started with Minwax that was a little lighter (and a slightly different chroma) than the flooring, then added small amounts of artists' oil colors (thinned with a little Minwax clear). Just a little at a time to the container used for mixing enough for the need, as it is hard to 'lighten' if one goes to far. A test piece of oak was used and compared to the finished flooring (which had some color variations inherent due to variations in grade. Also I was using #2 common, less expensive than pricy #1 - yet still much better than the next lower grade.). How long does polycrylic take to dry? The drying time for polycrylic can vary depending on factors such as humidity, temperature, and the number of coats applied. Generally, it takes about 2-4 hours for polycrylic to dry to the touch, and 24 hours for it to fully cure. Easy Application – Polycrylic can be applied using a brush or sprayer and does not require any special equipment or techniques, making it easy for even novice DIYers to use. Polycrylic can be applied using a brush, a roller, or a sprayer, depending on your personal preference and the type of project you’re working on. Here are the general steps for applying polycrylic using a brush:
If you enjoy building ship models that are historically accurate as well as beautiful, then The Nautical Research Guild (NRG) is just right for you. Polycrylic is a water-based, clear protective finish that can be applied to a variety of surfaces, including wood, metal, plastic, and more. This type of finish is known for its durability, clarity, and ease of use, making it an excellent choice for many different applications. Polycrylic is available in several sheens, which refers to the level of gloss or shine that the finish provides. The available sheens may vary depending on the manufacturer and product line, but the most common sheens for polycrylic are: Sand the surface: Lightly sand the surface with fine-grit sandpaper to smooth out any rough spots or imperfections. Wipe the surface with a clean, damp cloth to remove any dust. Easy Cleanup – Polycrylic can be cleaned up with soap and water, making it much easier to work with than oil-based finishes that require harsh solvents.Another thing to remember is that satin polys and varnishes almost always do not have any UV inhibitor added, so they don't resist UV degradation anywhere near those with UV inhibitors. This may not be a big deal with models that are never placed in direct sunlight, but no professional yacht painter worth their salt will ever use a satin varnish on anything that's going to be exposed to direct sunlight. The proper practice for producing a satin clear finish is to use a quality gloss coating with UV protection and then flatten the gloss by hand rubbing when it's dry with rottenstone and/or pumice or a fine Scotch-brite pad to obtain a uniform satin finish. Manufacturer-compounded "satin" clear finishes only mimic a quality hand rubbed finish and are quite inferior to the real thing. Apply the first coat: Dip the brush into the polycrylic and apply a thin, even coat to the surface, working in the direction of the wood grain. Be careful not to over-brush, as this can cause brush marks and bubbles. How do I clean up polycrylic? Polycrylic can be cleaned up using soap and water while it is still wet. If it has already dried, it can be removed using mineral spirits or denatured alcohol. Sealing over raw (or stained) wood is the only time I choose to use polyurethane (oil-based sealer) over polycrylic, especially if it’s going to be in a harsh environment like outside (or perhaps in a kitchen or bathroom).
- Fruugo ID: 258392218-563234582
- EAN: 764486781913
-
Sold by: Fruugo